Troubleshooting Guide
Fix "Control UI Requires Device Identity" Error
The OpenClaw Dashboard (Control UI) shows this error when you access it over plain HTTP from a non-localhost address — like a LAN IP or public IP. This guide explains exactly why it happens and gives you four proven ways to fix it, from a quick SSH tunnel to a production-ready HTTPS reverse proxy.
Quick Answer
Easiest fix: Download ClawSquire (free) — it handles SSH tunneling automatically so you never see this error. Or access the Dashboard via http://localhost:18789 instead of a LAN/public IP. If you're remote, use an SSH tunnel: ssh -L 18789:localhost:18789 user@server then open localhost:18789 in your browser.
What This Error Means
OpenClaw's Control UI (the web Dashboard at port 18789) uses the browser's Web Crypto API to generate a unique device identity for authentication. This API is only available in what browsers call a secure context: either HTTPS or localhost.
When you try to access the Dashboard over plain HTTP from a non-localhost address (e.g., http://192.168.1.100:18789 or http://your-server-ip:18789), the browser blocks the Web Crypto API, and the Dashboard shows the "requires device identity" error — often with WebSocket error code 1008.
This is a security feature, not a bug. Without a secure context, your gateway token could be intercepted by anyone on the network. The solutions below all preserve security while giving you remote access.
Solutions at a Glance
| Method | Difficulty | Setup time | Persistent | Best for |
|---|---|---|---|---|
| ClawSquire (recommended) | None | 30 sec | Yes | Desktop users, zero config |
| localhost / SSH tunnel | Easy | 1 min | No (per session) | Quick testing, occasional access |
| Caddy reverse proxy | Easy | 5 min | Yes | Production with custom domain |
| Nginx reverse proxy | Medium | 10 min | Yes | Existing Nginx setup |
| Tailscale | Easy | 5 min | Yes | Multi-device, no domain needed |
Fix It in GUI with ClawSquire
ClawSquire is a free desktop app for OpenClaw that eliminates this error entirely — no terminal, no config files, no certificates.
- 1.Add your VPS
Enter your server's IP, SSH user, and password (or key). Credentials are stored securely in your OS keychain.
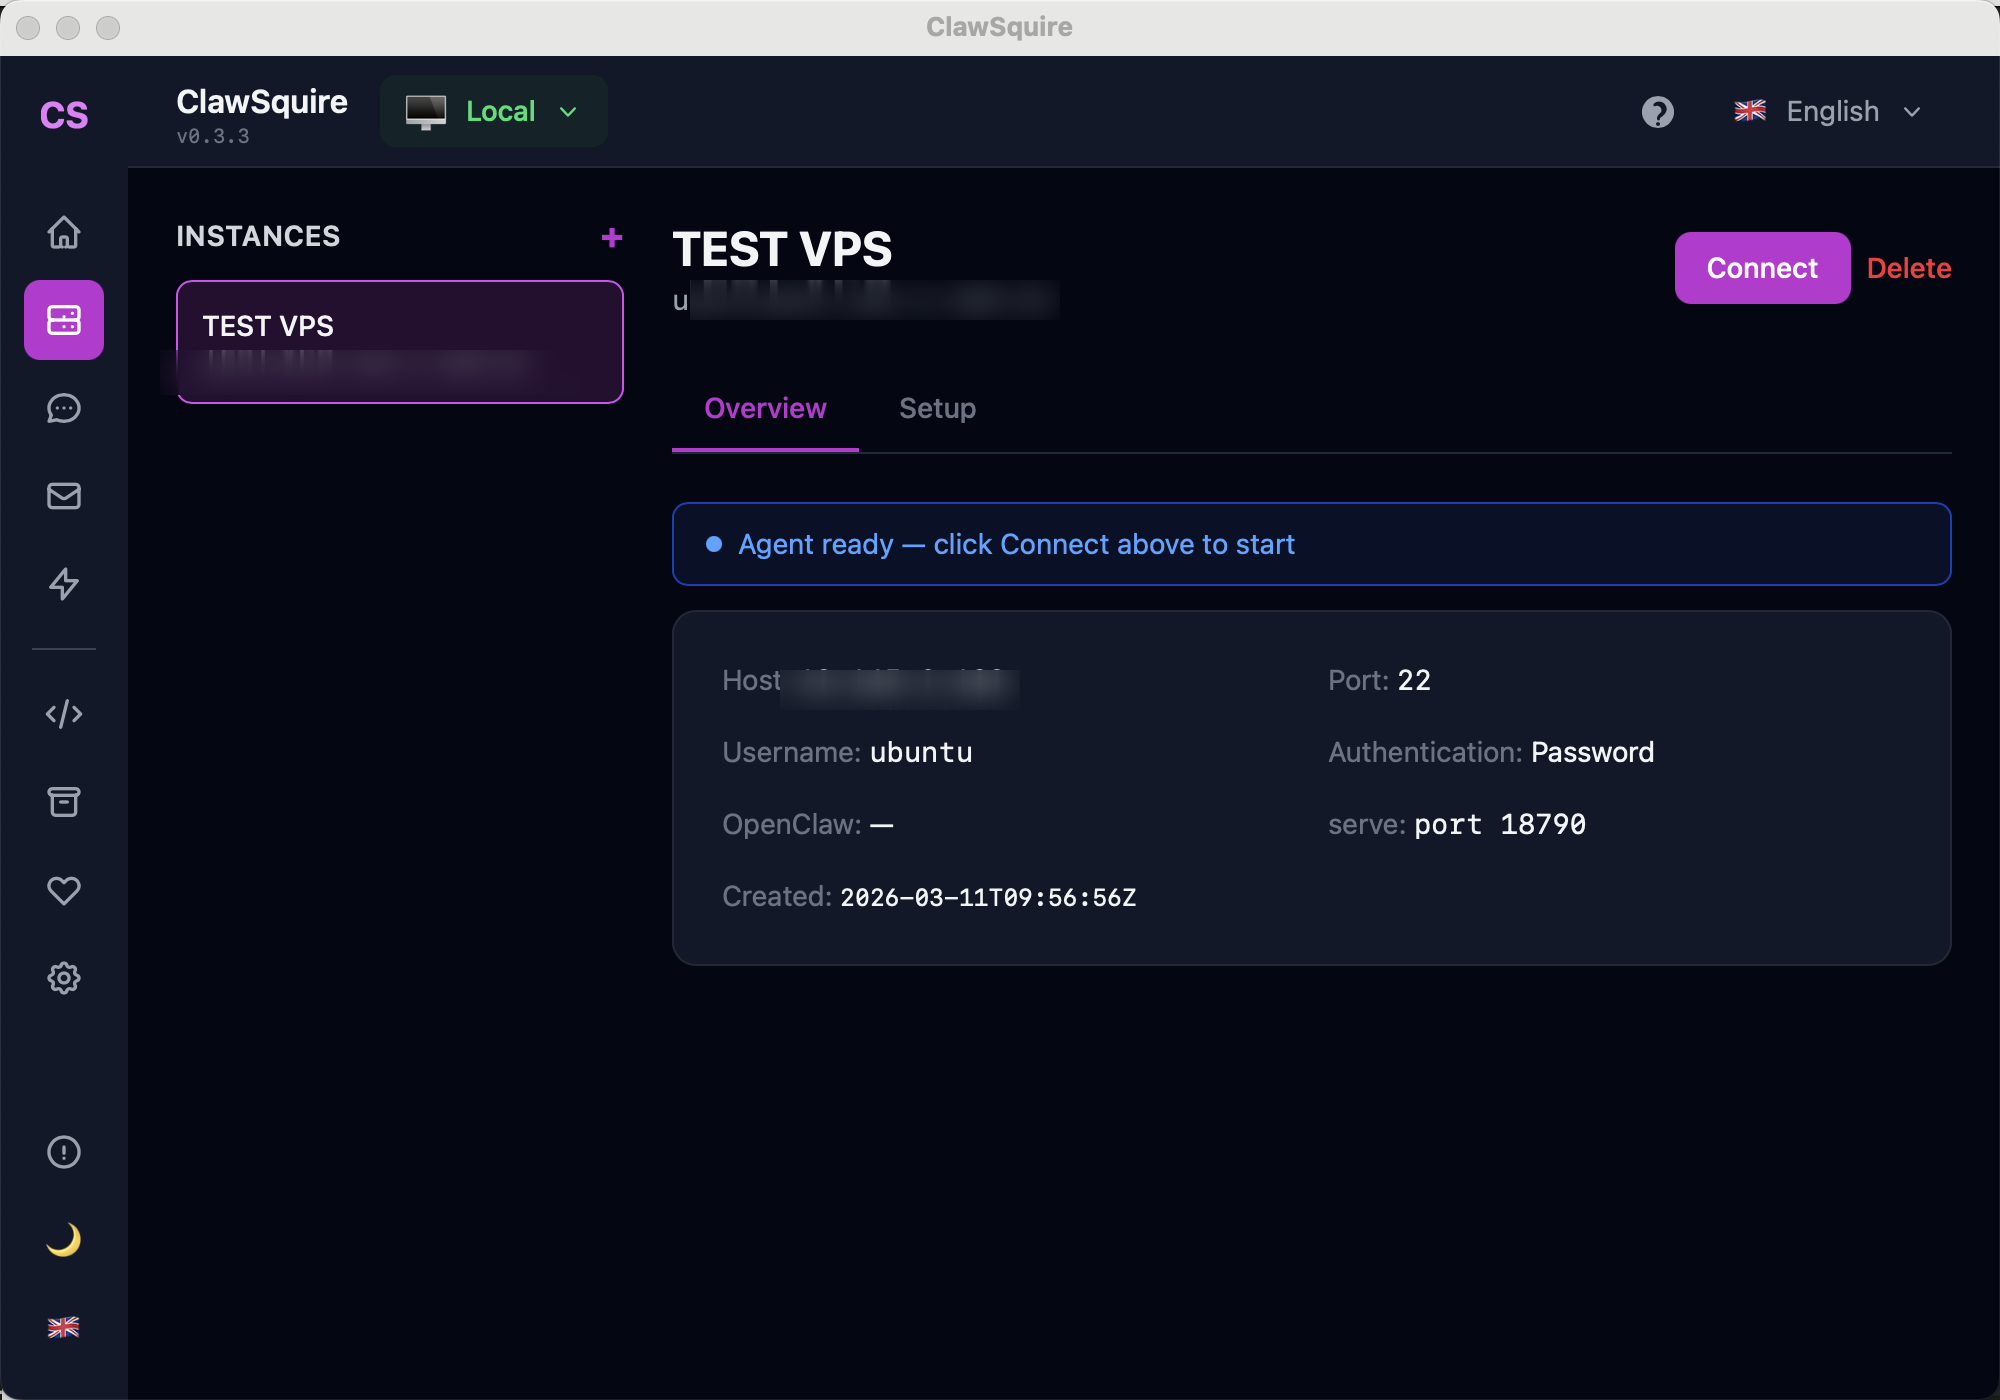
- 2.Click Connect
ClawSquire automatically creates an encrypted SSH tunnel, forwarding port 18789 to your local machine. No SSH commands to remember.
- 3.Dashboard opens via localhost
The OpenClaw Dashboard loads at
localhost:18789— a secure context — so the device identity error never appears. All data stays encrypted through the SSH tunnel.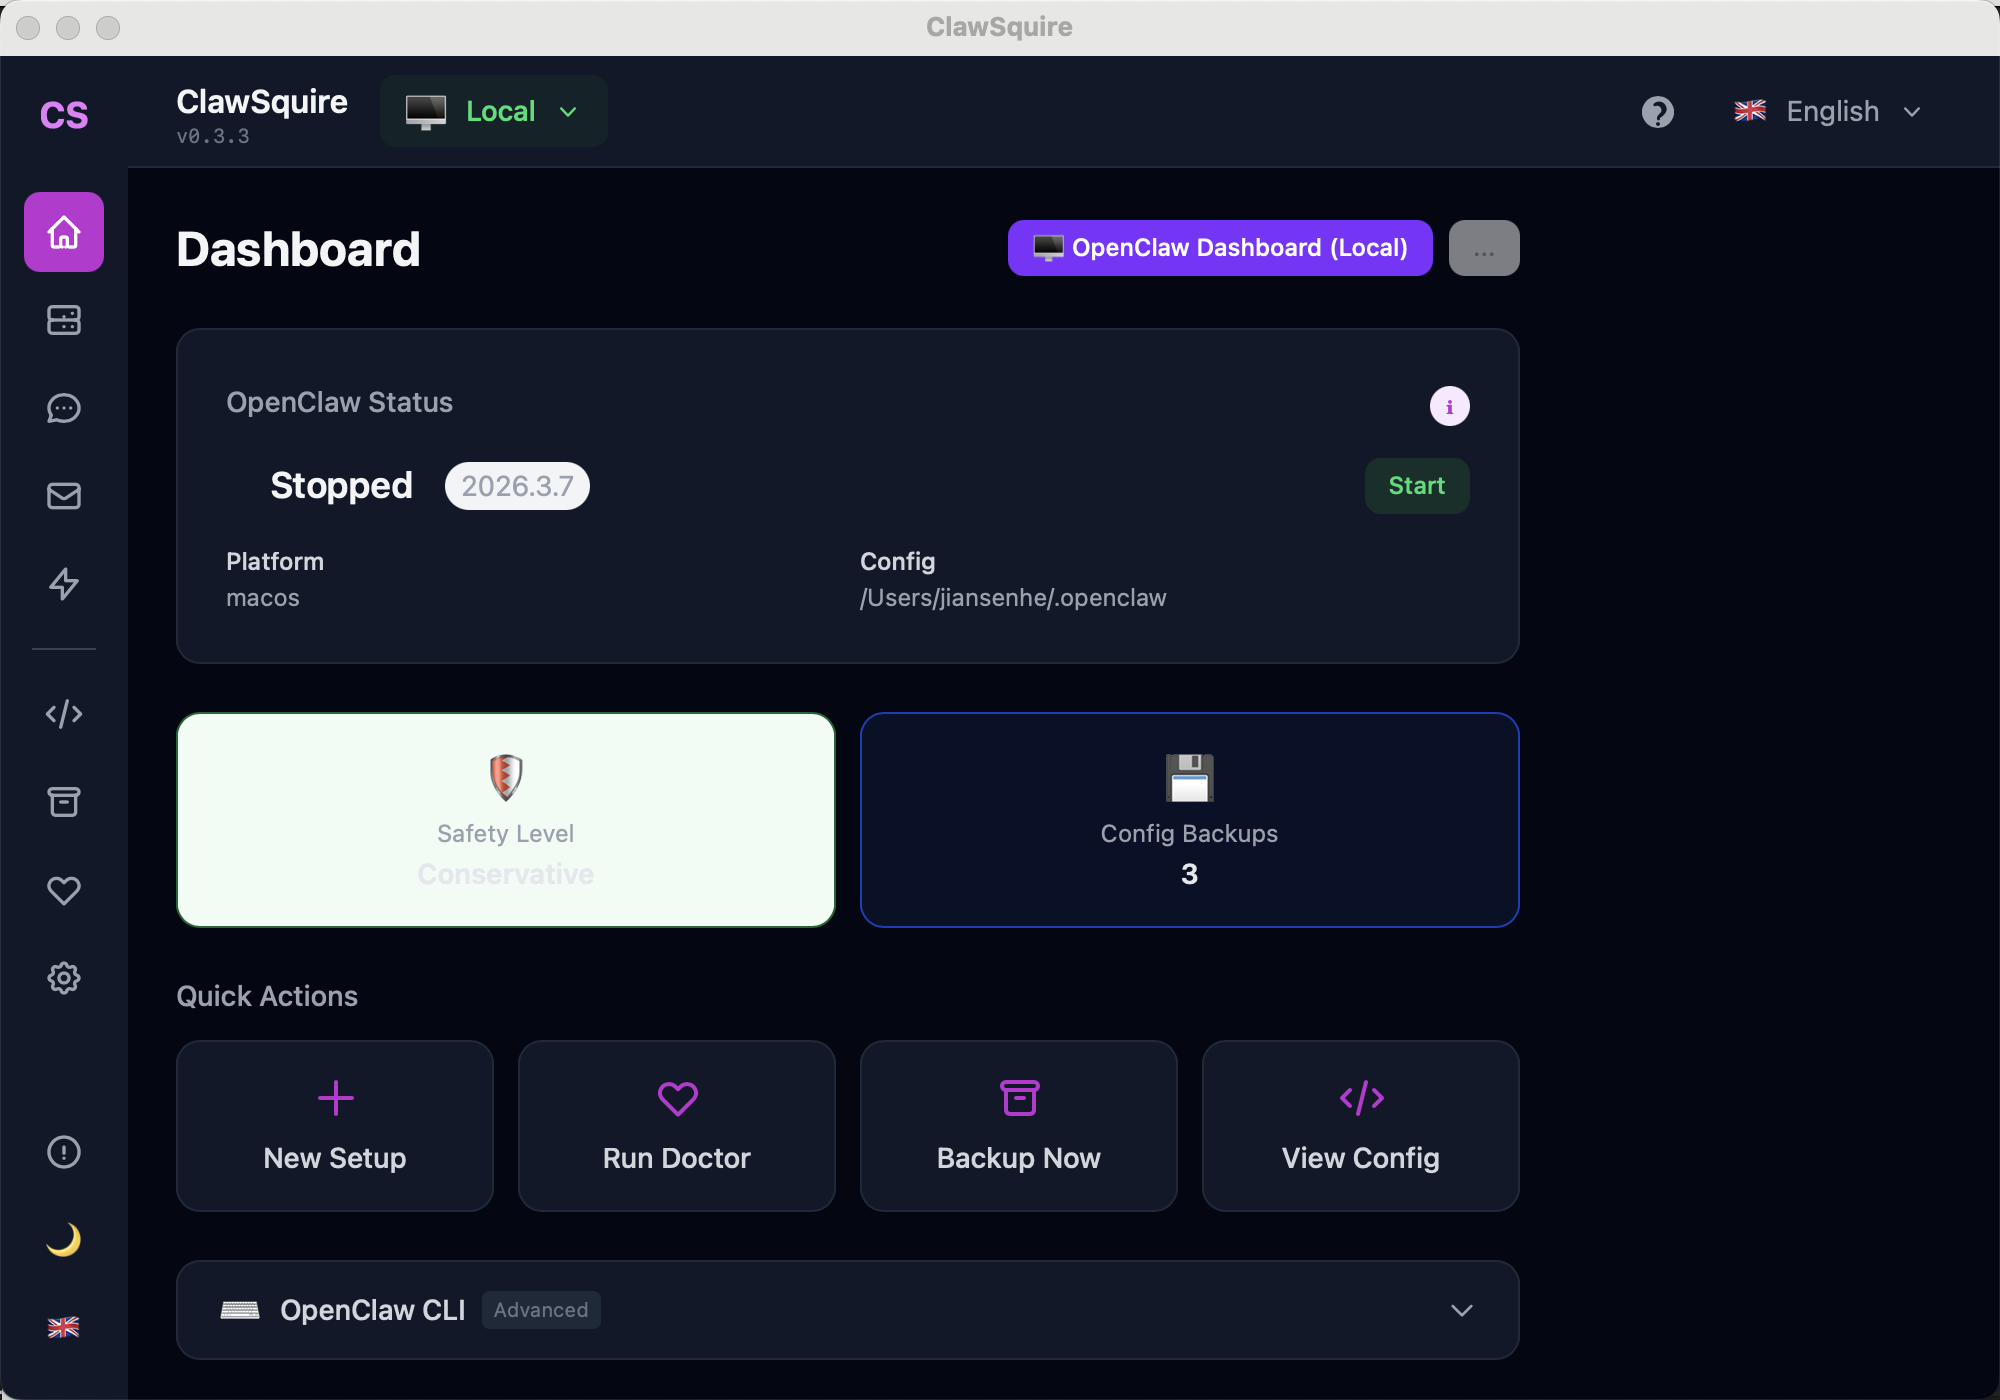
Beyond fixing this error, ClawSquire gives you visual health checks, config backup & restore, LLM provider setup, and channel management — all in 7 languages.
Manual Alternatives
If you prefer the command line or need a server-side solution.
Option A: Access via localhost / SSH Tunnel
Same machine — just use localhost
If OpenClaw is running on the machine you're sitting at, open your browser and go to:
http://localhost:18789This always works because localhost is automatically a secure context. No extra setup needed.
Remote machine — SSH tunnel
If OpenClaw is on a remote server (VPS, another machine on your LAN, etc.), create an SSH tunnel that forwards the Dashboard port to your local machine:
# Forward remote port 18789 to local port 18789
ssh -L 18789:localhost:18789 user@your-server-ip

# Or run it in the background:
ssh -fN -L 18789:localhost:18789 user@your-server-ip
Then open http://localhost:18789 in your browser. The tunnel encrypts all traffic between your machine and the server.
Tip: If port 18789 is already in use locally, map to a different local port:
ssh -L 28789:localhost:18789 user@serverThen access http://localhost:28789. See OpenClaw default port guide for more on port configuration.
Option B: HTTPS with Caddy (Easiest Reverse Proxy)
Caddy automatically obtains and renews SSL certificates from Let's Encrypt. It's the simplest way to set up persistent HTTPS access to your Dashboard.
Prerequisites
- A domain name pointing to your server (A record)
- Ports 80 and 443 open on your firewall
- Caddy installed:
sudo apt install caddy
# /etc/caddy/Caddyfile
openclaw.your-domain.com {
    reverse_proxy localhost:18789

    # WebSocket support (Caddy handles this automatically,
    # but explicit config if needed):
    @websockets {
        header Connection *Upgrade*
        header Upgrade    websocket
    }
    reverse_proxy @websockets localhost:18789
}# Reload Caddy to apply
sudo systemctl reload caddy
# Verify it's working
curl -I https://openclaw.your-domain.comAccess your Dashboard at https://openclaw.your-domain.com. Caddy handles TLS certificates automatically — no manual renewal needed.
Option C: HTTPS with Nginx
If you already have Nginx on your server, add a reverse proxy for OpenClaw. The key detail is WebSocket support — the Dashboard uses WebSocket for real-time communication, so you need the Upgrade headers.
server {
    listen 443 ssl http2;
    server_name openclaw.your-domain.com;

    # SSL certificates (use certbot for Let's Encrypt)
    ssl_certificate     /etc/letsencrypt/live/openclaw.your-domain.com/fullchain.pem;
    ssl_certificate_key /etc/letsencrypt/live/openclaw.your-domain.com/privkey.pem;

    location / {
        proxy_pass http://127.0.0.1:18789;

        # WebSocket headers — required for Dashboard
        proxy_http_version 1.1;
        proxy_set_header Upgrade $http_upgrade;
        proxy_set_header Connection "upgrade";

        proxy_set_header Host $host;
        proxy_set_header X-Real-IP $remote_addr;
        proxy_set_header X-Forwarded-For $proxy_add_x_forwarded_for;
        proxy_set_header X-Forwarded-Proto $scheme;

        # Timeout for long-lived WebSocket connections
        proxy_read_timeout 86400s;
        proxy_send_timeout 86400s;
    }
}

# HTTP → HTTPS redirect
server {
    listen 80;
    server_name openclaw.your-domain.com;
    return 301 https://$host$request_uri;
}# Get SSL certificate with certbot
sudo certbot --nginx -d openclaw.your-domain.com
# Enable the site and reload
sudo ln -s /etc/nginx/sites-available/openclaw /etc/nginx/sites-enabled/
sudo nginx -t && sudo systemctl reload nginxCommon mistake: Forgetting the WebSocket upgrade headers. Without them, the Dashboard will load but show "Disconnected" because the WebSocket handshake fails. If your Dashboard loads but can't connect, check the proxy_set_header Upgrade and Connection headers first. See also: Remote access guide.
Option D: Use Tailscale (Zero Config VPN)
Tailscale creates an encrypted WireGuard tunnel between your devices. No certificates, no domain, no port forwarding needed.
# On the server
tailscale ip -4
# Output: 100.x.y.zhttp://100.x.y.z:18789Why Tailscale works without HTTPS: Tailscale encrypts all traffic at the network layer via WireGuard. While the browser sees it as plain HTTP, the connection is encrypted end-to-end. Some browsers may still require you to add the Tailscale IP to your allowedOrigins in the OpenClaw config. See Dashboard guide for allowedOrigins setup.
Frequently Asked Questions
Does this affect Telegram, WhatsApp, or Discord bots?+
No. This error only affects the web-based Dashboard (Control UI). Messaging channels like Telegram, WhatsApp, Discord, and Slack use their own secure protocols and are not affected by the browser's secure context requirement.
What does "secure context" mean in this error?+
A secure context is a browser environment where certain security-sensitive APIs (like Web Crypto, used for device identity) are available. Browsers consider localhost and HTTPS origins as secure contexts, but plain HTTP from a LAN IP (like 192.168.x.x) is not secure. That's why the Dashboard works on localhost but fails on a LAN IP.
Can I disable this security check?+
Not recommended. The device identity check protects your gateway token from being intercepted over an unencrypted connection. Disabling it would allow anyone on your network to capture your authentication credentials. Use localhost, SSH tunnel, or HTTPS instead — all are straightforward to set up.
What about Cloudflare Tunnel?+
Cloudflare Tunnel works great — it's similar to the Caddy/Nginx approach but manages HTTPS certificates automatically via Cloudflare's edge network. Install cloudflared, create a tunnel pointing to localhost:18789, and access via your Cloudflare domain. Zero port exposure needed.
I get this error even on localhost — why?+
This usually happens when you access the Dashboard via 127.0.0.1 instead of "localhost", or when your browser has strict security policies. Try using http://localhost:18789 (the word "localhost", not the IP). Also check that no browser extension is blocking the Web Crypto API.
Does this affect the /api endpoints?+
No. The REST API endpoints (e.g., /api/v1/chat) work over plain HTTP. Only the Dashboard web interface requires a secure context because it uses the Web Crypto API for browser-side device identity generation.
Which OpenClaw versions have this requirement?+
The device identity requirement was introduced in OpenClaw's Control UI as a security improvement. All recent versions (2026+) include it. Older versions without this check are less secure and should be updated.
Related Guides
- → Gateway token — how to authenticate your Dashboard access
- → Remote access — all methods for accessing OpenClaw remotely
- → OpenClaw Dashboard — complete guide to the Control UI
- → VPS setup — deploy OpenClaw on a remote server
- → Troubleshooting — fix other common OpenClaw issues